This weekend i went through the RLS RMF44U, commutation encoder manual here: https://www.rls.si/fileuploader/downloa … utions.pdf
Because i just couldnt capture encoder 0° I decided i need to take apart the encoder and inspect magnet mounting and rest of assembly. Because i needed to do lots of steps quickly and by myself i wasnt able to take pictures.
What i found out…
1. I found my encoder mount had only 2 bolts fixing it to the motor case. What an error! It seems i was in a hurry and put only 2 bolts in to test the assembly and then forgot to close everything for sure.
2. I found that my magnet mount was rubbing on the encoder mount/plate on the inside. Probably because of the incorrect fitting.
I also discovered when i tightened the fittings that magnet mount protrudes just a tiny bit over encoder fitting. I couldnt torque it more because it came to its stop on the motor shaft, So i took it off and put it in my lathe and shaved about 1mm off of the rear side. I deburred edges and tried to install it. I could set it in ok with a little play.
Sergio Fabris from RLS explained to me that magnet itself is not susceptible to high temperature and can withstand some 600°C before it looses its magnetic properties. But he also explained the optimal gap under the encoder plate is 0.5mm to 1mm. If encoder is too close or too far it would not capture correct sensor position.
Then i went on to calibrate hall sensors and i got good 0° capture with some 3° of deviation. I will need to work on that still.
But now i get really good driveoff in reverse. But i still got quite some jolt in the forward direction. That got me thinking my motor mount is to be blamed… It has large holes in its rubber to alleviate vibrations from diesel engine. Electric motor does not oscillate, but rather moves through the whole amplitude. This might move the sealant block center to its edge where it hit the metal edge… bang! Also that move is detrimental to motor position readback.
I took the mount down and filled the holes with some Sika window sealant that is elastic after drying and can withstand a lot of force. After drying off i put the mount back in the car and went for a test run.
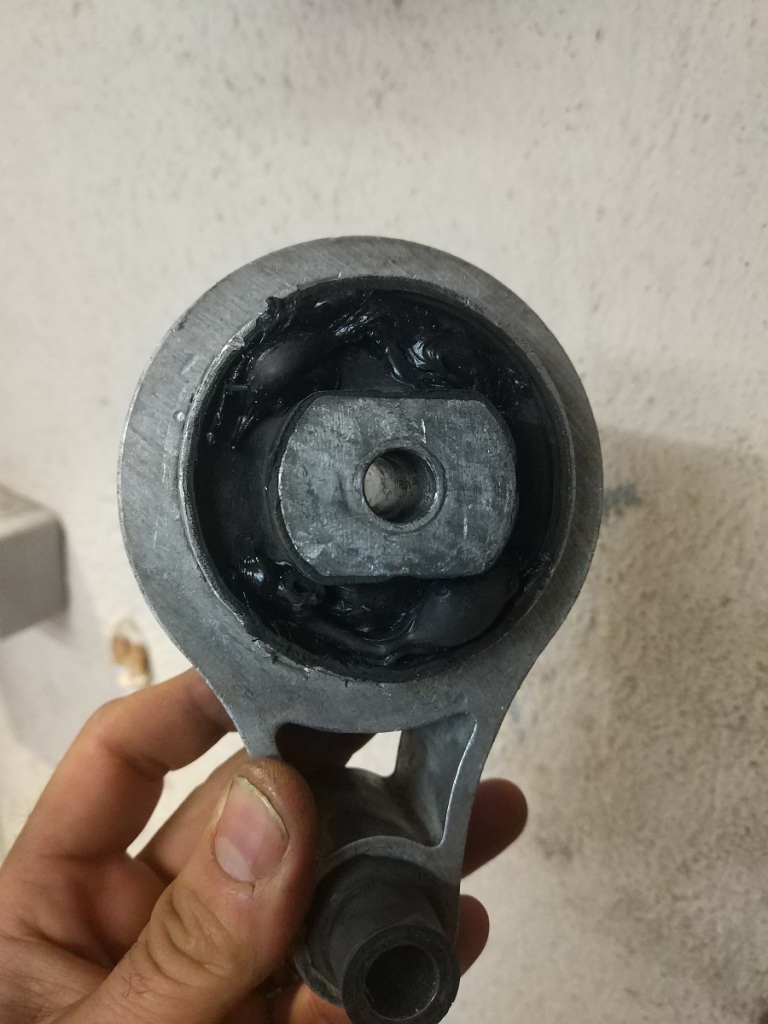
That trembling just before stop is gone now. All I had to do is recalibrate sensors.
Vibration has lessened substantially but that mount rubber is still too soft for my liking. I think i will order replacement sealant block and push it in the mount later.
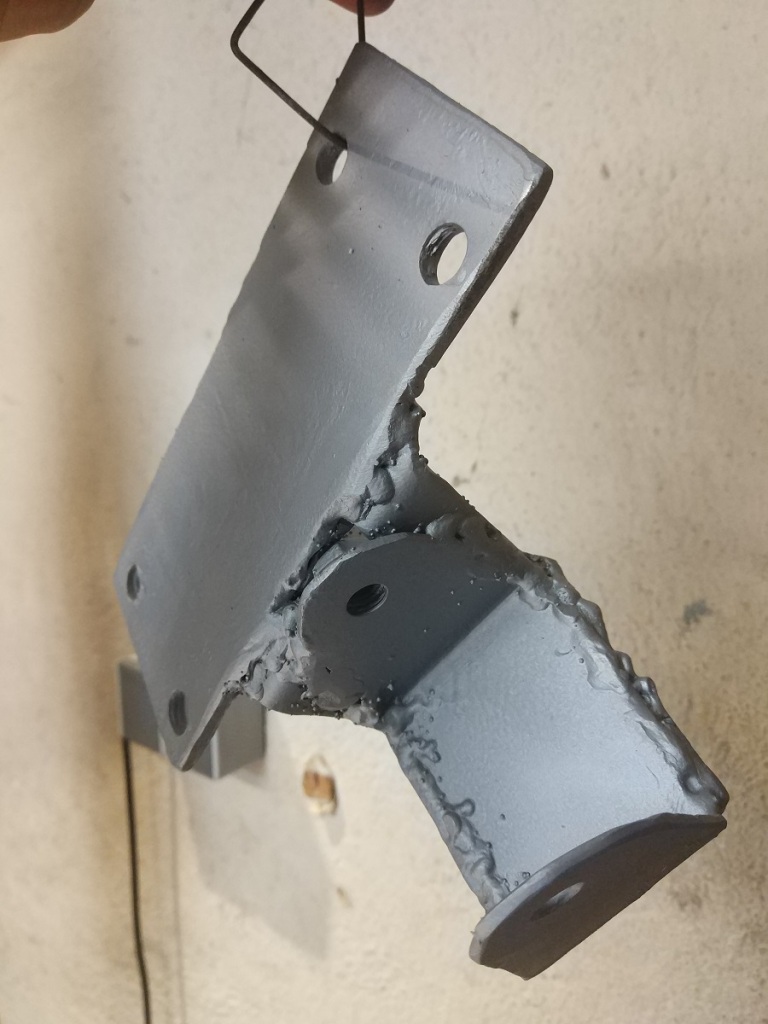
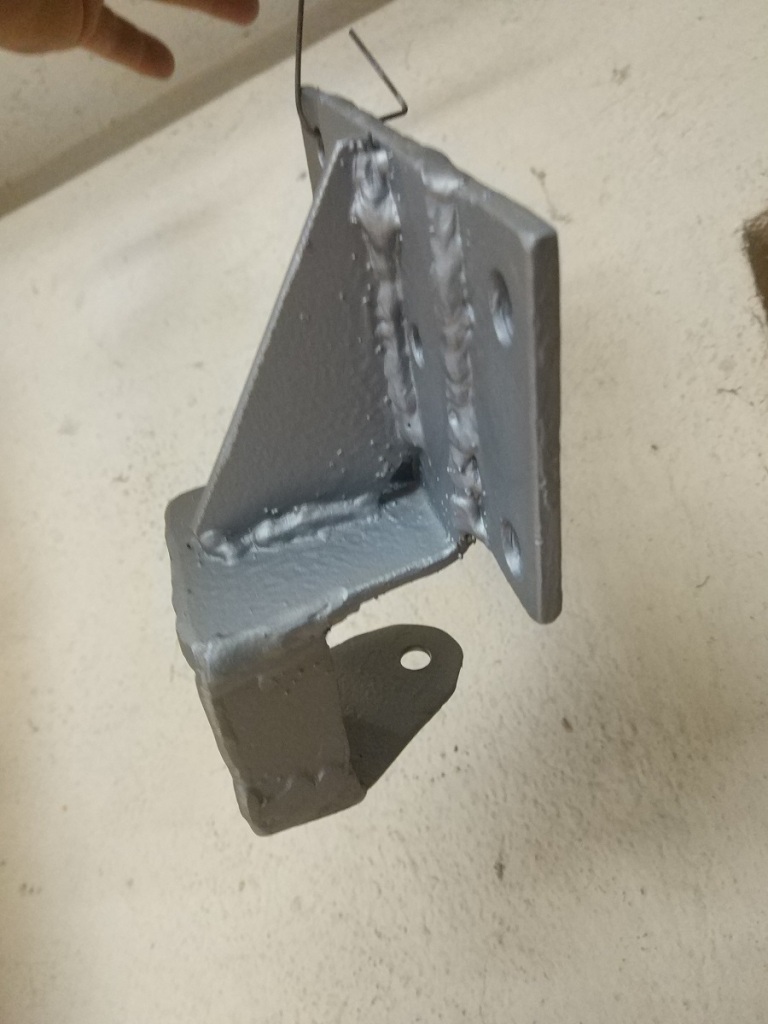
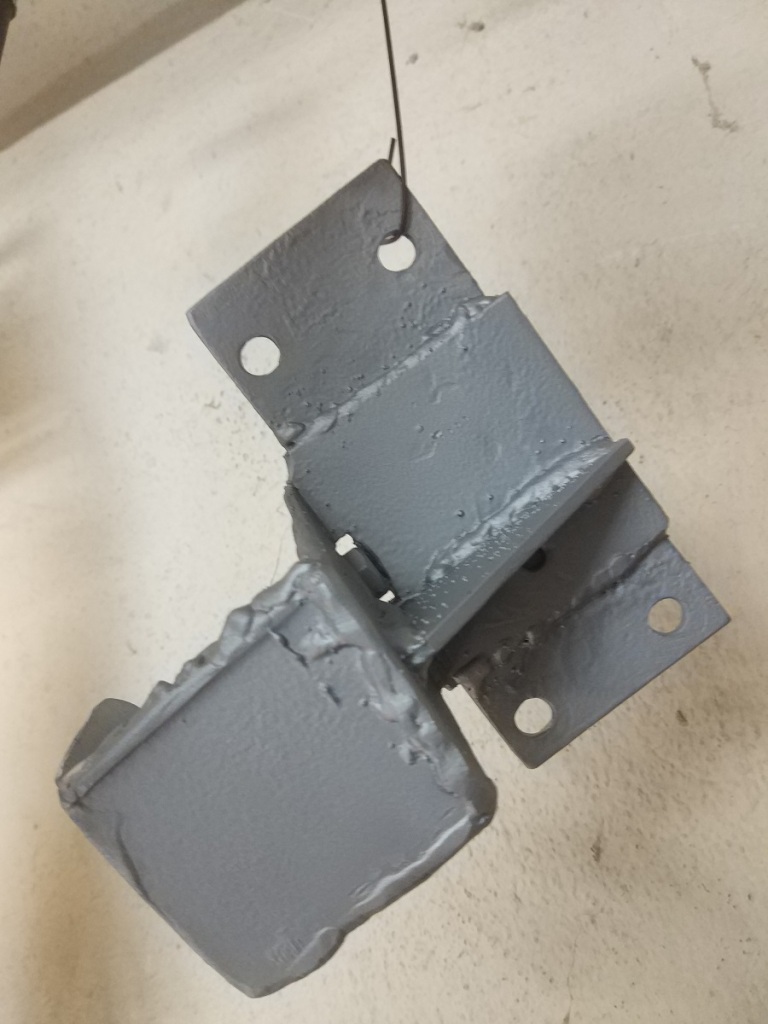
Also i had another problem. All the banging and motor jumping has caused my motor mount to break. It split on the weld seam and was causing terrible noise in my engine bay. I guess 3mm box and my welding skills were not enough to prevent that.
I took One 5mm and cut myself L shape with a brace. It even looks better and more compact now. I welded old fork and new mount together and paint it with Zinc spray.
I finally gave it a coat of black paint and then put it in the car. Now there is no more banging and motor feels really firm.